If you’ve ever dreamed of crafting a home that’s not just sturdy but also packed with charm and character, then timber framing might just be your new best friend. Timber framing is an age-old craft that combines artistry, engineering, and a bit of muscle to build those classic, warm, and inviting custom homes we all adore. So, buckle up! This guide will walk you through the essentials of mastering timber framing, helping you turn those visions of a cozy, wood-splendor home into reality.
What Is Timber Framing Anyway?
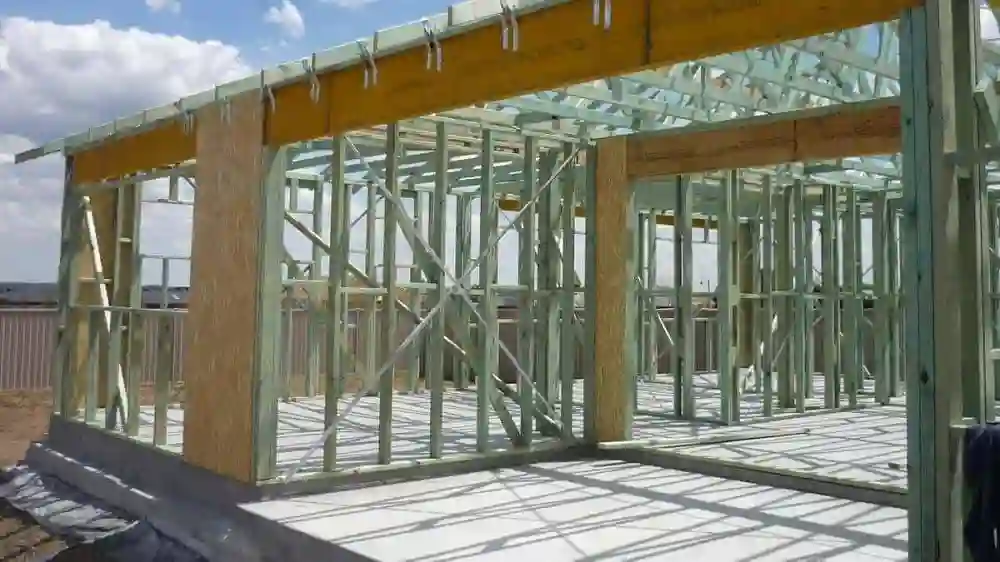
Before we dive into the nuts and bolts, let’s get on the same page. timber framing is a method of building structures using heavy timber beams and posts, joined together with precision cuts and wooden pegs or metal fasteners. Unlike modern stick framing, which uses lots of smaller pieces, timber framing highlights the wood itself as a major architectural feature.
Why Timber Framing?
- Durability: Timber-framed homes last for centuries if done right.
- Aesthetics: Exposed beams create a stunning, rustic look.
- Sustainability: Using responsibly sourced timber is eco-friendly.
- Flexibility: Custom designs can be easily adapted.
Essential Timber Framing Skills You Need to Learn
Mastering timber framing isn’t just about swinging a hammer. It requires a blend of technical knowledge and hands-on skills. Here’s what you need to focus on:
1. Understanding Wood Types and Properties
Not all wood is created equal! Knowing your timber is the foundation of great framing.
- Hardwoods vs. Softwoods: Hardwoods (like oak) are dense and durable, perfect for structural beams. Softwoods (like pine) are lighter and easier to work with.
- Moisture Content: Wood should be properly dried to avoid warping.
- Grain and Knots: Learn to pick timber with strong, straight grains and minimal knots.
2. Learning Joinery Techniques
Joinery is where the magic happens in timber framing. Traditional joints lock beams together without nails or screws.
Common joints to master include:
- Mortise and Tenon: A classic, strong joint where a ‘tongue’ fits into a cavity.
- Dovetail: Great for resisting pulling forces.
- Scarf Joints: Used to join two beams lengthwise.
- Lap Joints: Overlapping beams for added strength.
3. Reading and Creating Timber Frame Plans
Blueprints and plans are your roadmap. A solid understanding here saves time and headaches.
- Learn how to read elevations and cross-sections.
- Get comfortable with timber framing symbols and measurements.
- Practice drafting your own plans using software or traditional methods.
Tools You’ll Need for Timber Framing
Just like any craft, having the right tools makes all the difference. Here’s a quick checklist:
- Measuring Tools: Tape measure, framing square, bevel gauge.
- Cutting Tools: Handsaws, chainsaws, chisels, and a timber framing saw.
- Marking Tools: Chalk line, marking gauge.
- Assembly Tools: Mallets, drills, clamps, and traditional wooden pegs (treenails).
- Safety Gear: Gloves, safety glasses, hearing protection.
Bonus Tip: Invest in a good timber framing hammer — it’s designed to handle heavy wooden pegs and can make your work smoother.
Step-by-Step Process of Building a Timber Frame Home
Here’s a simplified overview of how timber framing typically flows, so you know what to expect:
Step 1: Designing the Frame
- Collaborate with architects or design your own plans.
- Select the timber species based on strength and look.
- Determine joinery types based on load and aesthetic.
Step 2: Preparing the Timber
- Cut beams to length.
- Shape joints with precision — this is where patience counts.
- Drill holes for wooden pegs or bolts.
Step 3: Assembly on the Ground (or Shop)
- Lay out beams according to the design.
- Test fit all joints — adjust as needed.
- Insert wooden pegs to secure joints.
Step 4: Raising the Frame
- Use cranes or manual labor to lift beams into place.
- Secure the frame temporarily with braces.
- Check for square and plumb alignment.
Step 5: Final Securing and Adding Walls
- Tighten all joints.
- Add non-structural walls, insulation, and finishes.
- Celebrate your sturdy, gorgeous timber frame home!
Common Challenges and How to Overcome Them
Challenge: Precision Cutting
Solution: Measure twice, cut once. Use quality marking tools and sharp blades.
Challenge: Heavy Lifting
Solution: Use cranes or enlist friends and family. Don’t rush – safety first!
Challenge: Wood Movement and Shrinkage
Solution: Choose seasoned timber and allow for natural expansion in design.
Why DIY Timber Framing Might Be Worth It
Getting your hands dirty with timber framing might seem intimidating but here’s why it’s rewarding:
- Personal Satisfaction: Nothing beats building your own home from the ground up.
- Cost Savings: Labor can be your biggest expense—cut that by doing some work yourself.
- Customization: You’re the boss! Make your home exactly how you want it.
- Learning Experience: Timber framing is a skill you can use again and again.
Tips to Master Timber Framing Faster
- Start Small: Try a shed or gazebo before a full house.
- Take Classes: Workshops offer hands-on guidance.
- Join Communities: Online forums and local groups are great for support.
- Practice Patience: Mistakes happen—learn from them without stress.
Final Thoughts: Timber Framing Is More Than Just Building
Timber framing is a craft that connects you with history and nature. By mastering these skills, you’re not just building a house; you’re creating a legacy — a home filled with warmth, beauty, and strength. So whether you’re a seasoned woodworker or a curious newbie, dive into timber framing and watch your custom dream home come to life!